

Small sofa side table

The plans below are also available for download as a PDF document on the Plans for Leukaemia page
Introduction
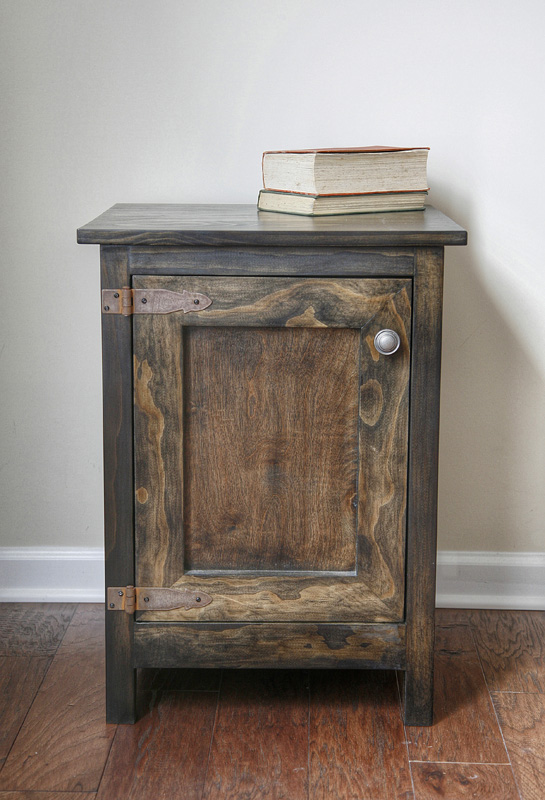
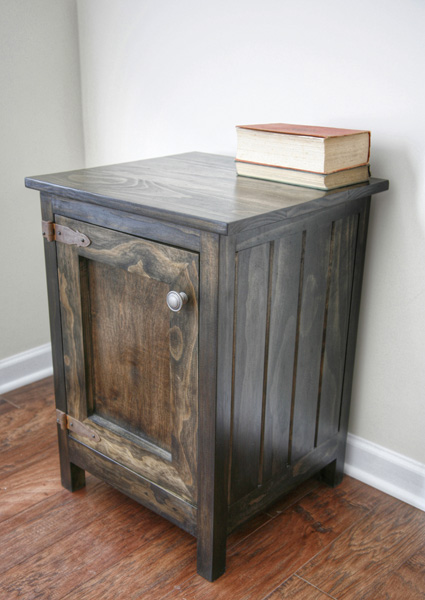
This plan makes a side table with door. The cabinet is 18 inches at the widest point, 17.5 inches deep and 25 inches high.
I have tried to ensure all steps are covered in these plans but if you find any errors in the plans or have a question then please email me at info@andrewharriswoodwork.com to let me know.
All my builds are made with pocket hole joinery. You will need a pocket hole jig tool such as a Kreg Pocket Hole Jig in order to build them.
Shopping List
| Size | Length | Quantity | Board Number |
| 2 by 2 | 6 feet | 2 | 1 and 2 |
| 1 by 2 | 8 feet | 1 | 3 |
| 1 by 3 | 8 feet | 2 | 4 and 5 |
| 1 by 4 | 8 feet | 2 | 6 and 7 |
| 1 by 4 | 6 feet | 1 | 8 |
| ¾ inch plywood | 15.5 inches by 15.5 inches piece minimum | ||
| ¼ inch plywood | Sufficient for the back panel and door insert depending on the overlap you choose to have. | ||
You will also need:
- 25 inch pocket screws
- 2 inch wood screws
- ¾ inch finishing nails
- Wood glue
- Cabinet Pull
Estimated Material Cost: $80
Cut list
Please read all instructions before cutting wood as shown below. I suggest some pieces are cut as you go to ensure a tight fit.
To minimize the number of boards to use plan your cuts I have given details of which board you should cut the piece from. If you find a more economical solution then please let me know.
| Size | Length (inches) | Quantity | Used For | Board Number |
| 2 by 2 | 25 | 4 | Legs | 1 and 2 |
| 1 by 2 | 14 | 3 | Top rails | 3 |
| 1 by 3 | 14 | 3 | Side and front bottom rails | Two from board 4 and one from board 5 |
| 1 by 3 | 15 | 2 | Back vertical supports | 4 |
| 1 by 3 | 17.75 | 2 | Door | 5 |
| 1 by 3 | 8.75 | 2 | Door | 5 |
| 1 by 4 | 18 | 8 | Side inserts | Five from board 6 and 3 from board 8 |
| 1 by 4 | 18 | 5 | Top | 7 |
| 1 by 4 | 14 | 2 | Back top and bottom rails | 8 |
| ¾ inch plywood | 15 ½ inches by 15 ½ inches for the bottom shelf | |||
| ¼ inch plwood | Minimum 10 by 14 inches for door insert | |||
| ¼ inch plwoody | 10 inches by 16 inches minimum for the back panel |
Step 1 – Make the two Side panel inserts
I made the inserts for the sides from 4 four pieces of 1 by 4 and I routed the edge slightly to 45 degrees but that is optional and just to give some detail.
Put the pocket holes on the inside and also put a pocket hole in the top and bottom of each piece to fix to the top and bottom rails.
If you prefer you can use a piece of plywood for a solid panel look instead.
Step 2– Make the two Side frames
Make the side frame by attaching the two 25 inch legs and the 14 inch 1 by 2 and 1 by 3 as the top and bottom rails.
The actual width of the 1 by 4s may not be exactly 3.5 inches and so you may need to trim the 14 inch side rails slightly once you have the insert part made.
Step 3 – Add the back rails
Add the back rails as shown.
Make sure the pocket holes are on the inside. The pocket holes should be drilled on the narrow part of each piece.
Step 4 – Add the front rails
Add the 1 by 2 and 1 by 3 front rail pieces as shown.
I put the pocket holes for the top rail on the top so would be hidden by the top. For the bottom rail I put them underneath so they would be hidden. The pocket holes should be drilled on the narrow end part of each piece.
Step 5 – Make the door
Note that in the photos I mitered the corners at 45 degrees but the instructions below are for just 90 degree angles as not everybody has a miter saw. If you want mitered corners then you will need to cut the two 8.75 inch long pieces longer.
Step 6 – Add the Door Insert
Add the ¾ inch plywood insert to the back of the door. Overlap the edges by at least ½ inch and fix with ¾ inch finish nails. If overlapping by half an inch then you will need a piece of ply measuring 10 by 14 inches.
Step 7 – Make the top
Make the top from the five 1 by 4 pieces measuring 18 inches long (this gives a ¾ inch overlap on each side and ½ inch at the front and back.
Step 8 – Cut the base
Make the base from the piece of plywood 15 ½ inches by 15 ½ inches. Cut a notch out of each corner. The notch should be 0.75 inches square.
Step 9 – Fit the base
Drill pocket holes around the edge of the base. Fit the base so the pocket holes are showing on the bottom of the cabinet.
Step 10 – Fit the top
Drill pocket holes on the side and back panels facing upward for screwing the first top layer to with 1 ¼ inch pocket hole screws.
Drill through the top of the front 1 by 2 rail so the top can be screwed on from underneath.
Place the top with the good side down and then place the upturned cabinet on top. Make sure you have equal gap all around and then fix the sides and back with 1 ¼ inch pocket hole screws and the front edge with 2 inch wood screws through the front rail.
Step 11 – Fit the back panel
Fit the back panel from the inside. I suggest you leave at least half an inch gap around the edge and use ¾ inch finishing nails to fix it. Dimensions given in plan (10 inches by 18 inches) allow for 1 inch overlap around each side.
Step 12 – Finish
Sand well to smooth our joints and remove any wood glue residue.
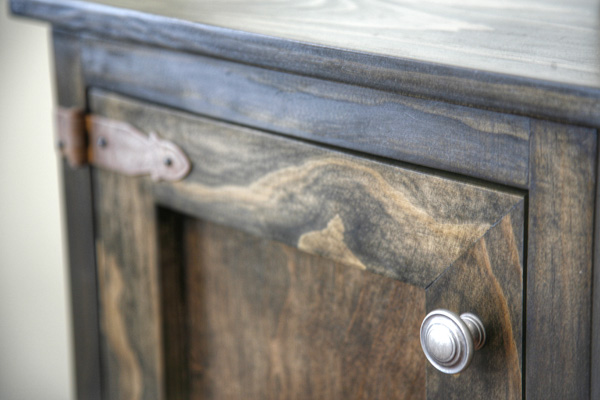
Apply Pre stain and your choice of color or paint as desired. The example in these plans was finished in Minwax Ebony and Minwax Satin Poly.
Step 13 – Hardware
Add hinges and door pull of your choice to finish off.
